


Rejoignez notre équipe - Nous recrutons !
Faites partie d'une mission visant à transformer les données brutes en intelligence exploitable. Vos compétences peuvent orienter l'avenir des services de données d'entreprise et d'IA, en donnant plus de pouvoir aux entreprises du monde entier.


Services de données pour l'IA
SmartOne.ai utilise une automatisation avancée combinée à une vision humaine experte (Human-in-the-Loop), pour s’assurer que vos données (texte, images, audio ou vidéo) sont catégorisées, classées et annotées avec précision.

Services de données d’entreprise
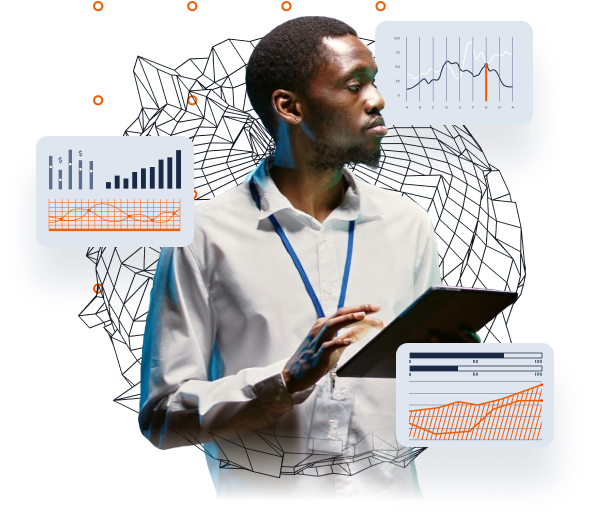
L’optimisation des données est cruciale pour les entreprises car elle améliore l’efficacité et permet une prise de décision plus précise, en veillant à ce que des informations précieuses soient extraites des grands volumes de vos données.
- Support de bout en bout pour les opérations et la gestion des données
- Annotation des données relatives au commerce électronique, à l’ERP et au CRM, etc.


Main-d'œuvre technique
Accédez à des talents internationaux – Profitez de notre vivier de talents techniques composé de développeurs de logiciels, de codeurs, de programmeurs web et CSS, d’ingénieurs, de scientifiques des données et de professionnels qualifiés dans les technologies émergentes et plus encore.
Projets réussis dans plus de 40 secteurs d'activité
Notre équipe d'experts dévoués a mené à bien plus d'un millier de projets. En savoir plus...
-
Agriculture et élevage
-
Commerce de détail et commerce électronique
-
Véhicules autonomes
-
Énergie et services publics
-
Divertissement et jeux
-
Services financiers
-
Aérien et géospatial
-
Médias et édition de contenu
-
IA médicale
-
Robotique et fabrication
-
Applications de sécurité
-
Applications sportives
-
Télécommunications
-
Réalité virtuelle et augmentée

Pourquoi choisir SmartOne.ai ?
Nous travaillons en partenariat avec les plus grandes marques mondiales, offrant des services d’annotation de données et de main-d’œuvre technologique qui stimulent l’innovation dans des secteurs tels que la technologie, l’agriculture, la fabrication, le commerce électronique, la santé, la vente au détail, la finance et bien d’autres encore.
Qualité et valeur inégalées, SmartOne.ai reconnaît que les initiatives d’entreprise et d’IA les plus avancées sont alimentées par des données de la plus haute qualité. Avec la meilleure tarification du marché, il est difficile de trouver une meilleure valeur pour l’optimisation, l’organisation et la catégorisation de vos données.
Les gens d’abord. Chez SmartOne.ai, “les gens d’abord” signifie favoriser un environnement de collaboration et de responsabilisation pour notre équipe, nos clients et nos partenaires. En donnant la priorité à l’intelligence humaine et à l’innovation, nous visons à construire un avenir où, ensemble, nous débloquerons des possibilités infinies de croissance et de progrès. Nous construisons des relations commerciales à long terme avec nos clients et notre écosystème de partenaires en IA et en technologie.
+1100
Opérateurs à temps plein
+95%
Engagement sur le taux de qualité minimum
500
Cas d'utilisation
Ce que disent nos clients
“SmartOne a été la pierre angulaire du succès de notre solution de vision par ordinateur, grâce à ses services d'annotation d'images de haute qualité. C'est toujours un plaisir de travailler avec eux, grâce à la flexibilité et au professionnalisme des membres de l'équipe qui sont à l'écoute de nos besoins en constante évolution. ”
“Nous avons fait appel à SmartOne pour nous soutenir dans notre projet d'étiquetage de données audio. Nous sommes très satisfaits du niveau d'expertise fourni par l'équipe, qu'il s'agisse des aspects de conseil technique ou de l'implémentation. ”
“Nous sommes très satisfaits de la collaboration avec SmartOne. L'équipe a été réactive, les délais ont été respectés et les annotations sont de bonne qualité. Je n'hésiterai pas à faire de nouveau appel à eux pour mes futurs projets d'annotation. ”

Prêt à améliorer votre prochain projet de données d'entreprise ou d'IA ?
Découvrez comment SmartOne.ai peut alimenter vos initiatives d'entreprise, de technologie et d'IA avec des données de précision et une expertise humaine.